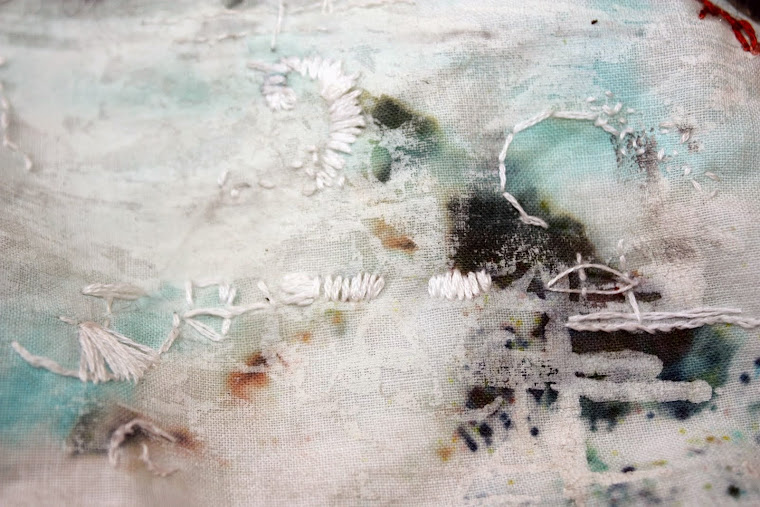
My favorite part of starting a project playing around with colour and organizing my palette.
sacharowe
.

Friday, 24 April 2015
AKATOS
...'sums up the strange mood of our time where nothing makes any coherent sense. We live with a constant vaudeville of contradictory stories which makes it impossible for any real opposition to emerge because they cant counter it with a coherent narrative of their own. It means we as individuals have become ever more powerless unable to challenge anything because we live in a state of confusion and uncertainty.'- Adam Curtis
Muted grey and blues interrupted by bold injections, natural line and shape contrasting graphic, block shape. Decorative patterns are washed out with abstract and expressive marks. Seek fish and feathers close ups of pattern and texture. Explore buildings new and old, patterns created by building up and tearing down. Combine, layer for interest and depth.
Labels:
adam curtis,
akatos,
britain,
confusion,
industrial,
nature,
trend
Wednesday, 22 April 2015
Yumiko Arimoto
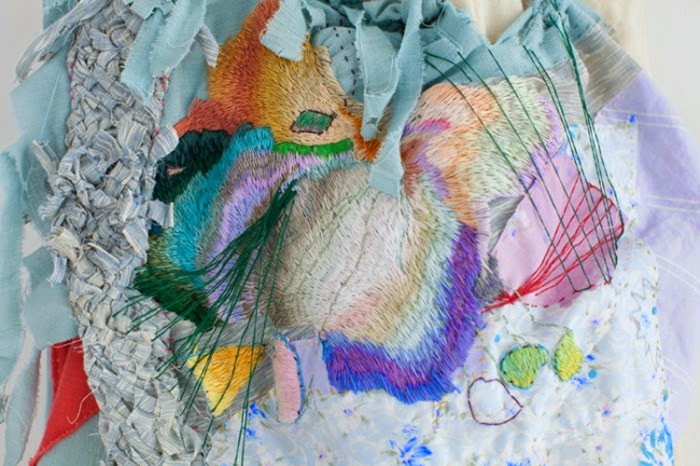
Focus on abstract imagery and a true experiment of textures, the embroidery is captivating with the presentation flawless and beautiful.
Yumiko's work is inspiring and fresh reviving Japanese traditions through the finished piece, expressive threads burst off the fabric giving the viewer immense pleasure in her striking palette.
This is one of her larger installations but you can find more of her work here http://sina1986.com/
Tuesday, 21 April 2015
Home made screens
After leaving University and not having use of the facilities anymore especially print I have found its been time to get creative!
Looking at the prices of screens online and having little to spend I decided to make my own which with a little bit of research was much easier than I expected.
You will need
- wooden picture frames - (found around the house or in charity shops I picked up 3 ranging from approx A1-A3 for £9)
- gloss paint or varnish
- electric staple gun (preferably electric as the assisted speed ensures a tight screen)
- screen mesh (I bought mine from eBay for about £8 used 55T but here's a guide to see what suits your work -http://www.wickedprintingstuff.com/site/download/WPS_Mesh_Guidelines.pdf
- long ruler or tape make sure you measure you frames before purchasing mesh to get the right length and width
- someone to help
- To start I stripped away any hooks or attachments from the frame until your left with the basic wooden frame which was already painted one side with varnish, but I went over the full with gloss paint to preserve the wood. Continuous washing of the screen will eventually rot and warp the wood and this will prolong the life of your screen.
- Leave to dry for 24 hours.
- Call on your helper and place the frame on a sturdy surface, preferably not your best dinning room table as it might get scratched I did mine outside in the garden.
- Get your electric stapler plugged in and place the fabric round the frame with enough spare hanging over to grab onto.
- I found it easier to have one person holding the wood and mesh and one person stapling.
- Place a staple in the center of each piece of wood in the frame pulling the mesh as tight as possible, then place a staple in each corner of the frame.
- Continue in this fashion pulling the mesh tight and stapling around the frame until the screen is as tight as a drum with no creases.
LEARN FROM MY MISTAKES
Buy thick wooded screens about 2cm thick so the staples don't push through the other side, one of my screens does this and can be uncomfortable to print with.
Buy thick wooded screens about 2cm thick so the staples don't push through the other side, one of my screens does this and can be uncomfortable to print with.
Keep going even if it doesn't seem like your screen is getting tighter, if your are pulling as tight as you can without tearing it will get tighter the more staple's put in just like pinning fabric to the printing table.
I exposed my screens at CCADS Hartlepool campus who offer very cheap prices at print club on a Monday night, but you can also use stencil printing which can be done at home.
HOME
So I've been away for awhile but I'm going to update with all the lovely things I've seen, experienced and created. Starting with decorating my not so new home...
Friday, 14 June 2013
Photoshoot at Belsay Hall
So after a stressful night before and a last minute model change, I did actually go through with my photo shoot at Belsay Hall. And I must admit trying to verbally explain what you want and direct a model (especially with a sleepless night behind you), was much harder than I thought. The hall was also much busier than I had anticipated.
Here a a few snaps of us on thee shoot...
Here a a few snaps of us on thee shoot...
Me and the model
wandering through the quarry
my very helpful mam :)
I will update about the book and photos from the shoot later :)
Thursday, 13 June 2013
Hand and Lock?
Well the placement at Hand and Lock was an amazing experience. I acquired plenty of knowledge on both the industry and the craft. I also had a great time and got to meet some amazing people.
Very kindly the company have boosted my skills to include silk shading, as well as learning how to use an industrial sewing machine and new techniques on the application of my embroidery.
And most important of all I ended up sewing on the letters onto the slippers that Rob webb wears in the compare the meerkat advert, how exciting haha!
AN AMAZING experience and I would reccomend any design students interested in embroidery to try and do a placement here.
Subscribe to:
Comments (Atom)


